Making a drawing app with WICK!

Here’s a Wick project that contains a clip in the asset library. This clip has functions that will help you draw any type of shape you want by selecting the pivot points and adjusting the color.

Here’s the file: My Project4-11-2021_13-32-19.wick (3.3 KB)

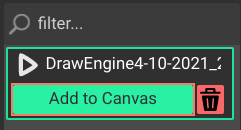
When you open the file, click the “DrawEngine” asset, and click “add to canvas”
image

You’ll find different functions that you can use from anywhere in your project, here’s how each works:

DrawEngine.Adjust(A_,RGB,show)

This function adjusts the DrawEngine into a shape.

You can refer to it anywhere in the project as “DrawEngine.Adjust(…)”

Replace “A_” with an array of all the points (see “How array of points works” section)

Replace “RGB” with an array that has 3 numbers for red, blue, and green fill color
(EX: “[1,0.5,0.1]” would set the color to 100% red, 50% blue, and 10% green)

Replace “show” with if you want to show the shape while it’s being adjusted or not
(Use “true” or “false”)


draw(points,rgb)

This is a window function, which means you can refer to it from any object as just draw()

Replace “points” with an array of all the points (see “How array of points works” section)

Replace “rgb” with an array that has 3 numbers for red, blue, and green fill color
(EX: “[1,0.5,0.1]” would set the color to 100% red, 50% blue, and 10% green)


undo()

This is a window function, which means you can refer to it from anywhere in the project as “undo()”

This removes the last path that was made.


reverseArray(Arr)

reverseArray is a window array, which means you can refer to it anywhere as “reverseArray(…)”

Replace “Arr” with an array

This returns the same array, but backwards


Feel free to remix, change functions, and adjust things your way!


How array of points works (Read before getting started!)

Before giving an array of points, you have to know that you’ll need to list the X and Y of every point! And in order! So let’s say… I wanted a point at x of 0, and y of 0, and another point at x of 50 and y of 0, and another at x of 25 and y of 50 (which I think would make an upside down triangle), I DON’t just put all of these numbers in an array. The array needs to only have points. Every point is equal to an array made up of 2 values, with the first value being the X, and the next one is the Y.

Here’s an example to make things more clear:

DON’t DO:

[0,0,50,0,25,50]

DO:

[[0,0],[50,0],[25,50]]


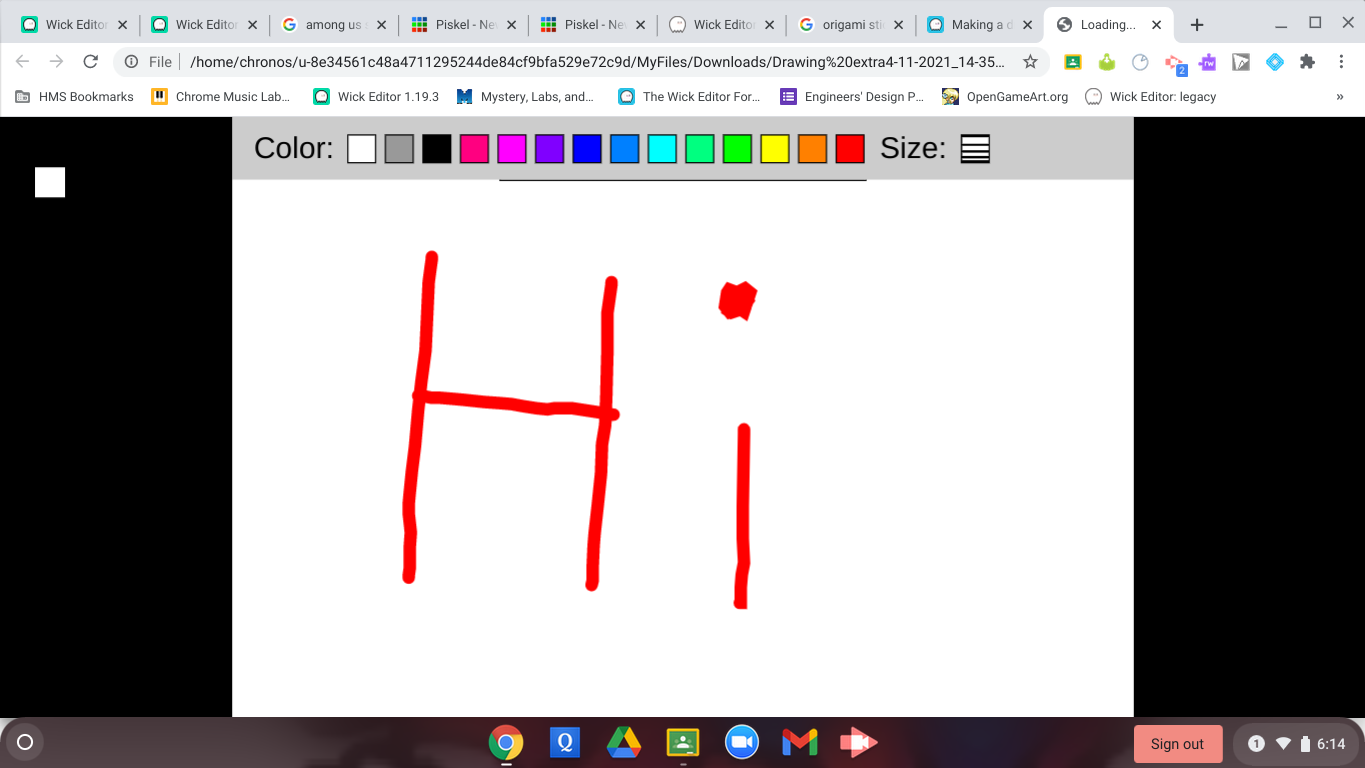
I tested this out, and made a “quick” drawing app

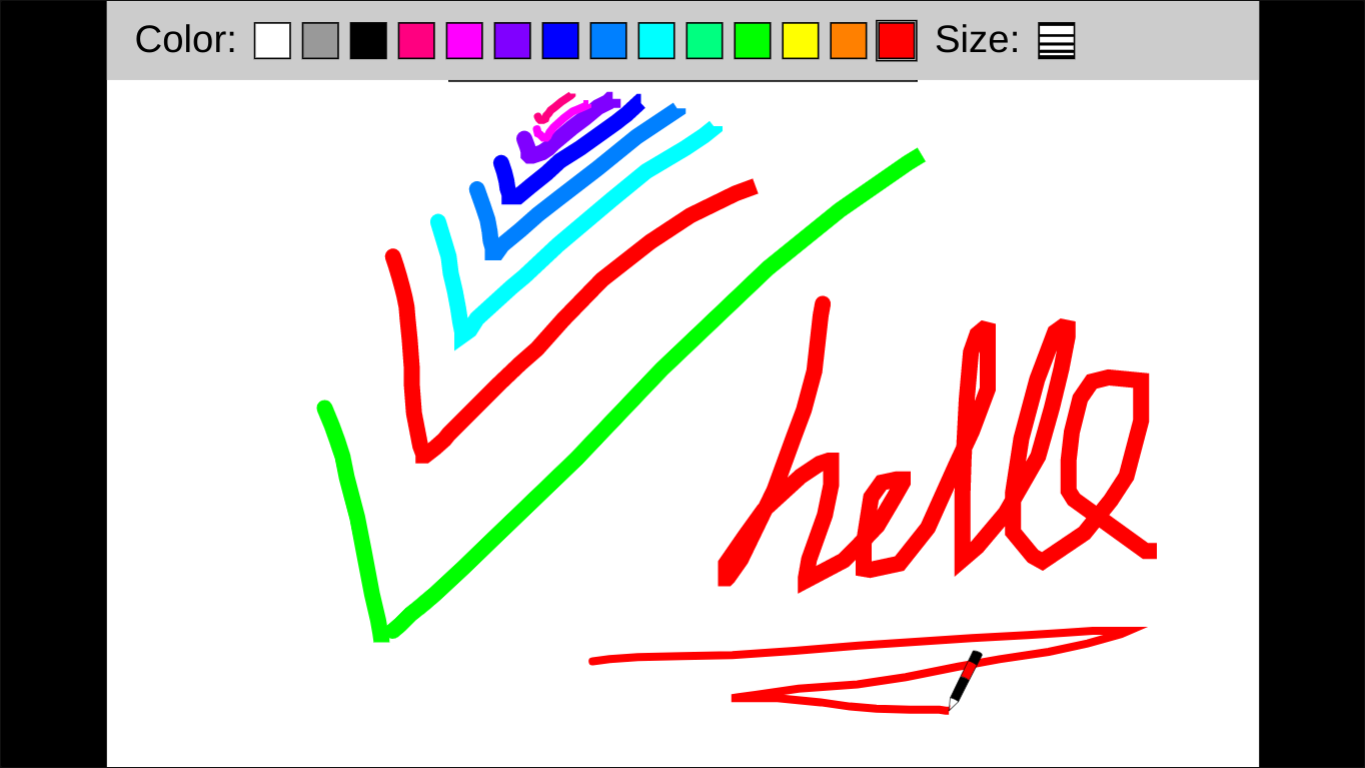
HTML version: Drawing extra.html (2.1 MB) (Note: ctrl+z shortcut works)
WICK file: Not gonna share the wick file so people will have to do some coding on their own.
I’ll share the wick file now that it’s been more than a week - Drawing App.wick (11.3 KB)

Any questions? Lemme know!

6 Likes

I’ll try it : ) @Hamzah_Al_Ani

I’m trying to just make these 3 points… but it is giving me an error…

draw([[0,0],[50,0],[25,50]],[1,0.5,0.1]);

Ok, I got it to work… but not what I was expecting…

Screen Shot 2021-04-11 at 3.18.33 PM

Explain more what you mean by this…


Also, I forgot to mention, for the stroke color, you can change it or make it transparent with this code:

DrawEngine.activeFrame._children[0].strokeColor='transparent' // Change "transparent" with a color

@Hamzah_Al_Ani (update)

Sure… I was expecting 3 points only, not a shape out of these 3 points. (don’t get me wrong, this is fantastic). Could you add a line function? like:

line([[0,0],[100,100]],RGB);

1 Like
Before edit

image
If this is what you need (the thing in the image), then change line 14 of the clip with the functions to this:

"closed": false,

And change line 15 to this:

"fillColor": 'transparent',

Or you can try using this technique:

var points=[[0,0],[50,0],[25,50]];
draw(points.concat(reverseArray(points)),[1,0.5,0.1]);

Edit:

Here, I added a line() function
Hopefully that helps

Drawing functions.wick (3.5 KB)
(there is an example in the file)

How it works:

line( Points , Color , Size );
1 Like


nice

2 Likes

Thank you. This is fun!
I used your line function to make gradients…

Gradient4-11-2021_23-08-04.wick (3.8 KB)

3 Likes

the file keeps crashing the editor

1 Like

Wow this is really cool!!!

1 Like

This is cool but I don’t really know how to code so it’s not for me :|

1 Like

Wow. You never fail to impress. And an Undo button too!??!?!? How’d you do that?

1 Like

@Jovanny that’s amazing!
I never thought I could use this for gradients… I’m also surprised that it’s not as laggy as I expected it to be (it runs for me at an fps of 12!)

undo()

For the undo button, I set a variable to the amount of children in the active frame by default, then checked if the current number is greater than the default number to know that the last added object was not there (or in other words, is an added path), then removed it… like this:

// Default script (DN = Default Number)
project.DN=project.activeFrame._children.length;
// undo()
window.undo=function(){
if(project.DN<project.activeFrame._children.length)
project.activeFrame._children[project.activeFrame._children.length-1].remove();
}

(I use this same code in every drawing project I make)

3 Likes

Wowza. I hope someday I get to be at good at programming as you are.
You should teach a weekly class or something

2 Likes

@Hamzah_Al_Ani Now that I think about it, we should definitely teach a weekly workshop or class (If you’d want to)! Like have a topic (Arrays, variables, loops, etc) and write out a workshop/activities for the participants to do.
And if @Jovanny isn’t busy he could help

1 Like

:star: That sounds like a great idea!
:thinking: How would we start off though?

1 Like

Well since we’d be teaching JS by example, we’d have a set topic and then make an activity that utilizes the set activity. We’d make a bunch of them and then have people do them!

1 Like

Got it!

I’ll go offline now for school, then we can plan this out after.

Till then, what do you think the first topic should be about?

I think we can go from small to bigger topics like this:
Variables --> Arrays --> loops --> functions --> XY movement --> Key interactions -->
mouse interactions --> window events --> working with multiple windows --> etc. etc…

2 Likes

First I think we should start with how the Editor works

2 Likes

if you want to make a lesson for wick, you can teach people about the editor by piggybacking luxapodular’s official wick tutorials. it’ll simplify some work, and i’m sure luxapodular already did a great job explaining things. i mean, he made wick, so he’d know the details the best.

from there, what you talk about depends if you want to talk about coding, animation, or wick in general. assuming you want to just talk about code, then hanzoh’s path looks fine. and then you can again piggyback a few of luxapodular’s tutorials to talk about wick-specific things.


i’m getting the piggybacking-other-lessons thing from my mom because she wants me to teach a python class… some people can’t be self-taught, so teaching a self-teachable lesson could help people out. plus, they can talk to you about bugs and stuff (especially if it’s a live class, but i don’t know what you guys are planning).

(just thought i could pitch in with an idea or something, don’t mind me.)

3 Likes